Mac With T2 Chip

Learn how to install blendOS on your Mac through this guide!
What you'll need
- A minimum of 25 GBs of storage.
- A spare USB drive, with a minimum size of 4GBs.
Installation
You can skip to a particular step from the outline on the right, if you're on a Mac or PC.
Step 1: Download the latest blendOS ISO file
If you're coming from Windows or macOS, it's recommended that you download the KDE Plasma edition of blendOS. It is extremely intuitive, and has a similar workflow to other operating systems.
However, if you prefer a functional default layout and are open to something new, the GNOME edition may be for you.
Warning about downloads:
The links below are the only certified places to get the ISO, DO NOT DOWNLOAD IT FROM ANYWHERE ELSE!
Mirror List:
-
KDE Plasma Edition:
-
GNOME Edition:
Step 2: Download balenaEtcher
In this guide, we will be using balenaEtcher to burn the ISO file to the USB drive.
Regardless of whether you're currently using Linux, macOS or Windows, you can download and install balenaEtcher from here.
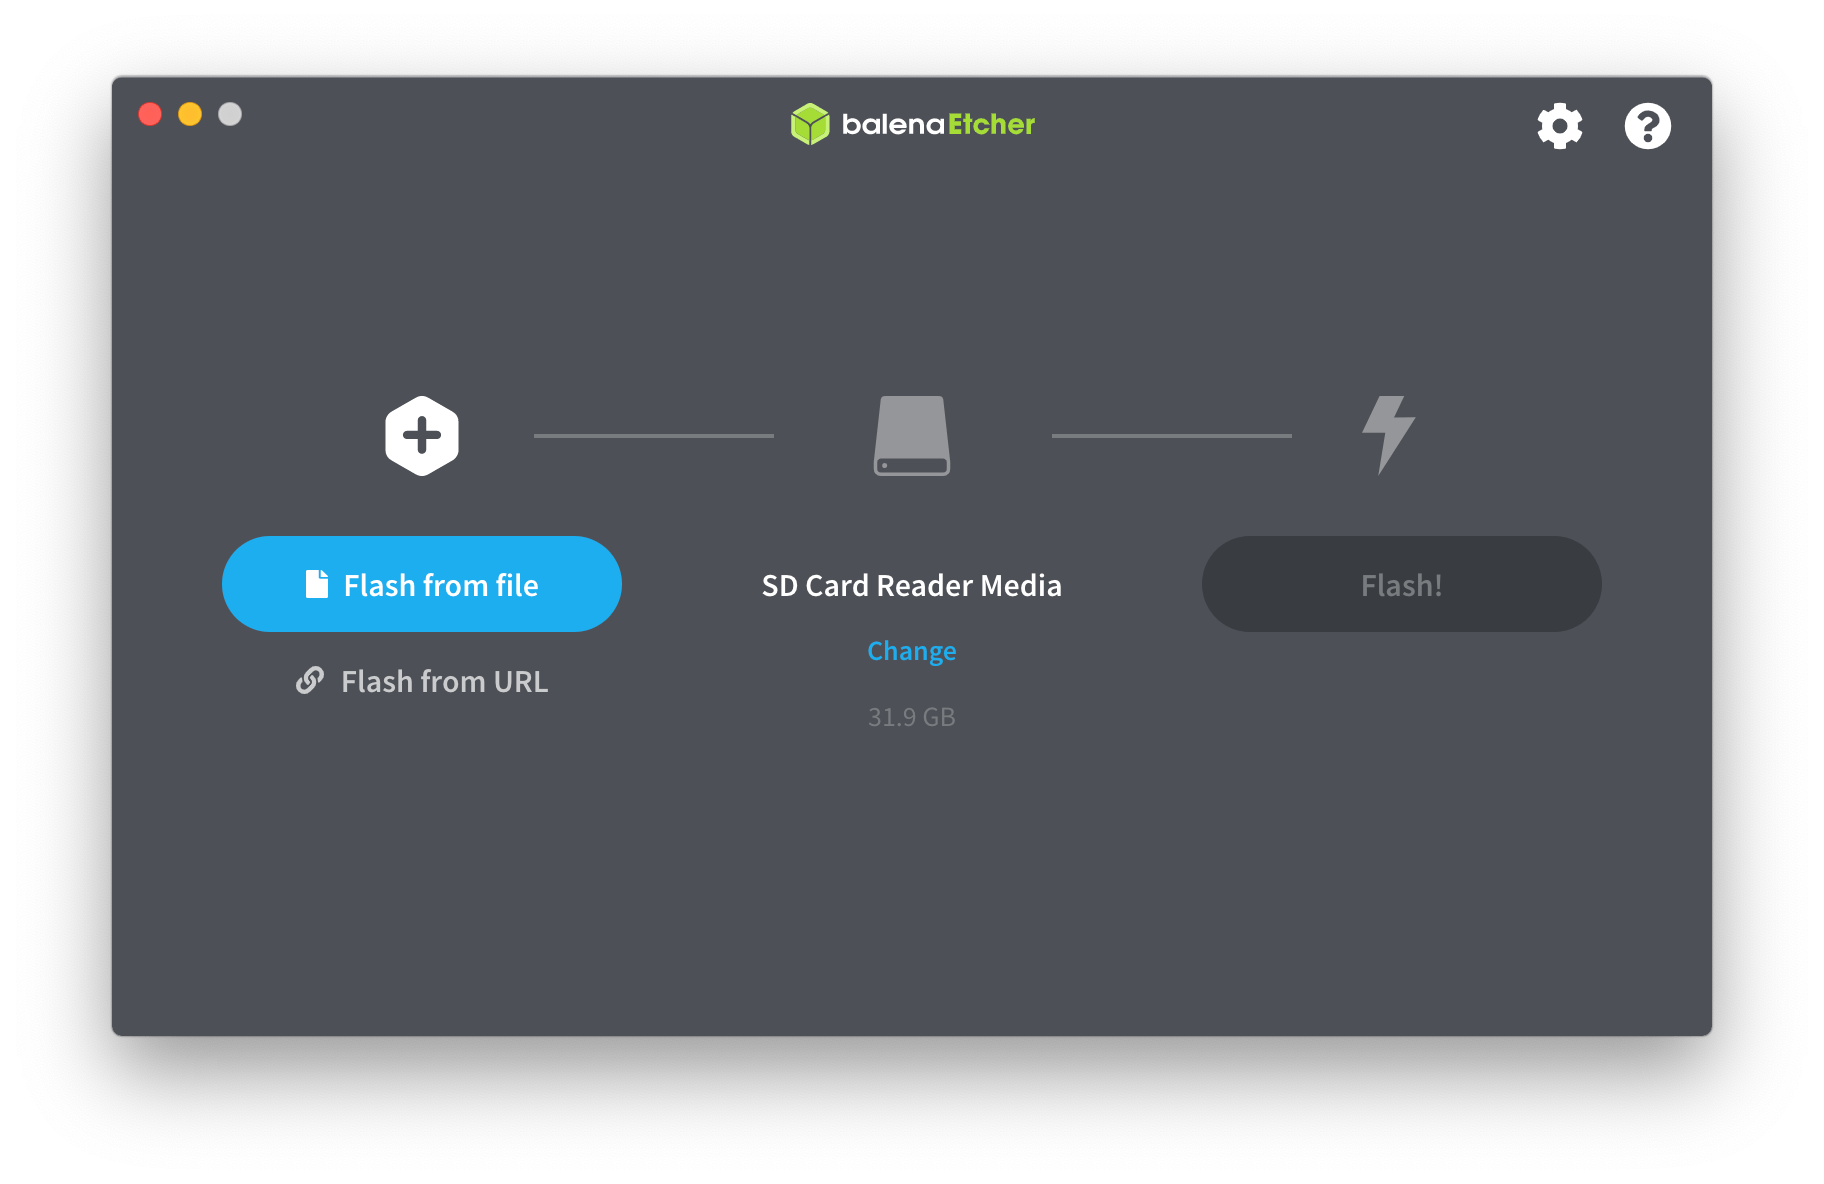
Step 3: Burn the ISO to your USB drive
Make sure to select the correct USB drive, as balenaEtcher will erase ALL THE FILES on the drive.
Click on Flash from file, and select the ISO file you downloaded earlier. You can then select the USB drive you would like to flash the ISO drive to. After selecting the drive, you can click on Flash to flash/burn the ISO to the USB drive.
The Mac/PC you used to flash the ISO file to the USB drive may be the same as the Mac you want to install blendOS.
Step 4-ish: Disabling Secure Boot (do this first)
Turn on your Mac, then press and hold ⌘-R immediately after you see the Apple logo. Your Mac starts up from macOS Recovery.
When you're asked to select a user you know the password for, select the user, click Next, then enter their administrator password.
When you see the macOS utilities window, choose Utilities > Startup Security Utility from the menu bar.
When you're asked to authenticate, click Enter macOS Password, then choose an administrator account and enter its password.
When you see the Startup Security Utility windows, choose No Security option. You can then now reboot by choosing Apple menu > Restart.
What did I just turn off?
Secure Boot is a system implemented by Apple which makes it so your Mac can only boot signed EFI files.
The ones in blendOS are not signed by Apple nor Microsoft so you must turn this off in order to proceed.
Step 4: Boot from the USB drive
Insert the USB drive into the Mac that you wish to install blendOS to, and power it off. After a few seconds, power it on and hold ⌥ until you arrive at your Mac's boot menu.
Once at the boot menu, select the USB drive you flashed blendOS to. You will be greeted by another menu, where you can press Enter to proceed with booting the live installation media.
The menu didn't load!
Make sure you do step 4-ish even if it just shows a black screen or boots into another OS.
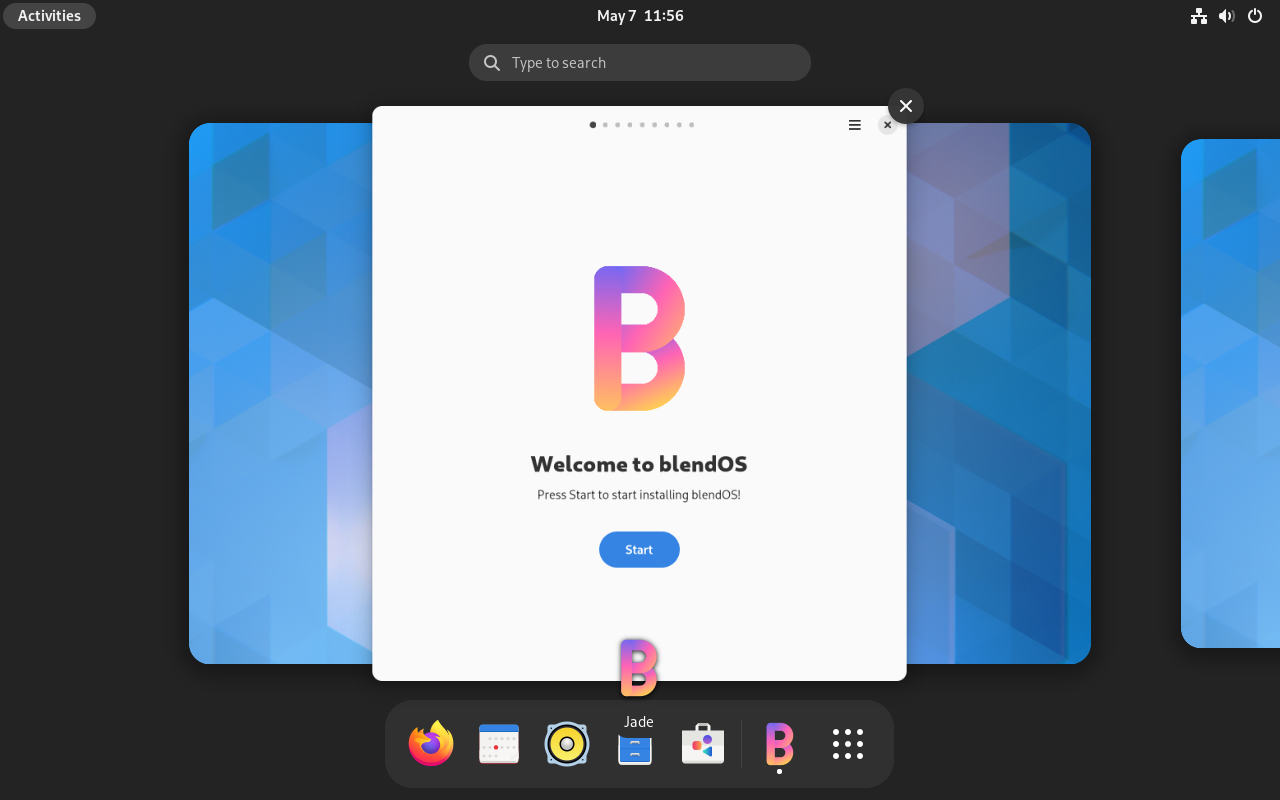
Step 5: Opening the Installer
You may see some flashing text come up during boot, it's normal! (Just a Linux thing)
You should arrive at the desktop, which should look like this:
GNOME:
KDE:
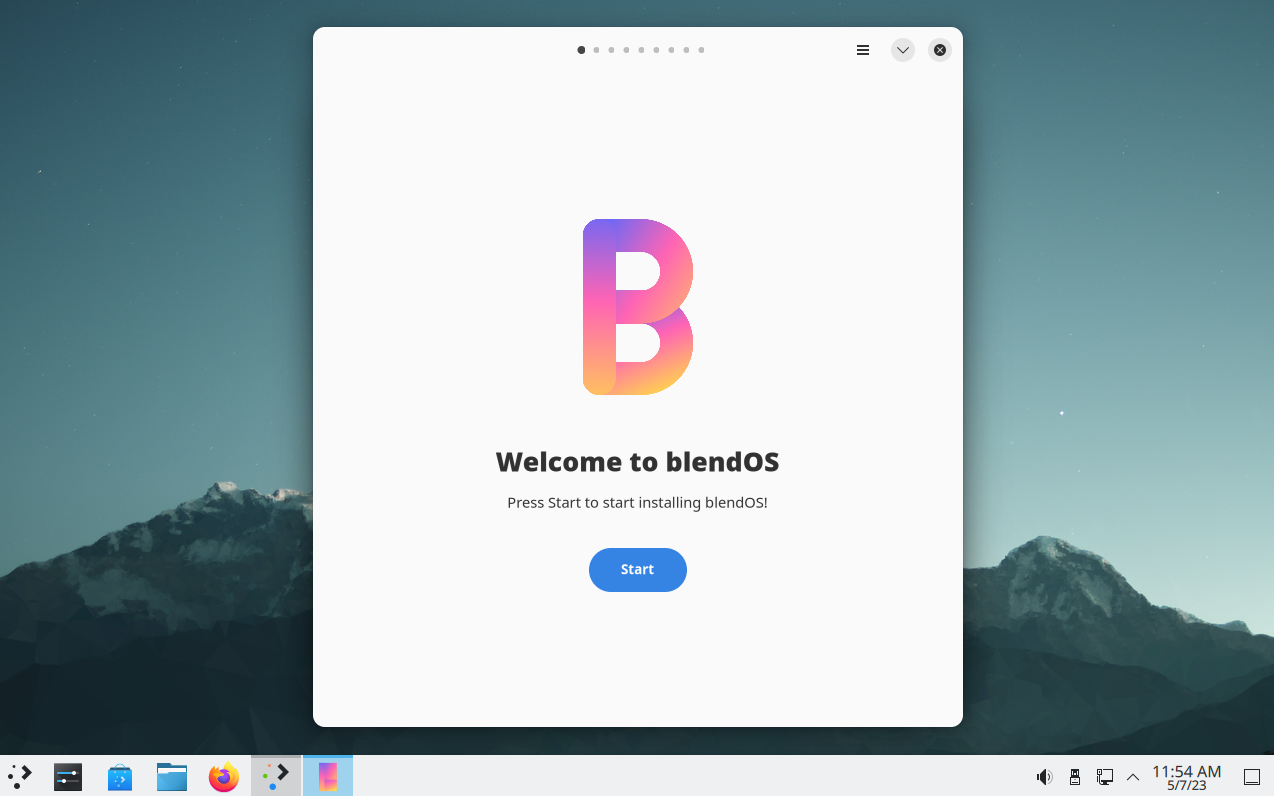
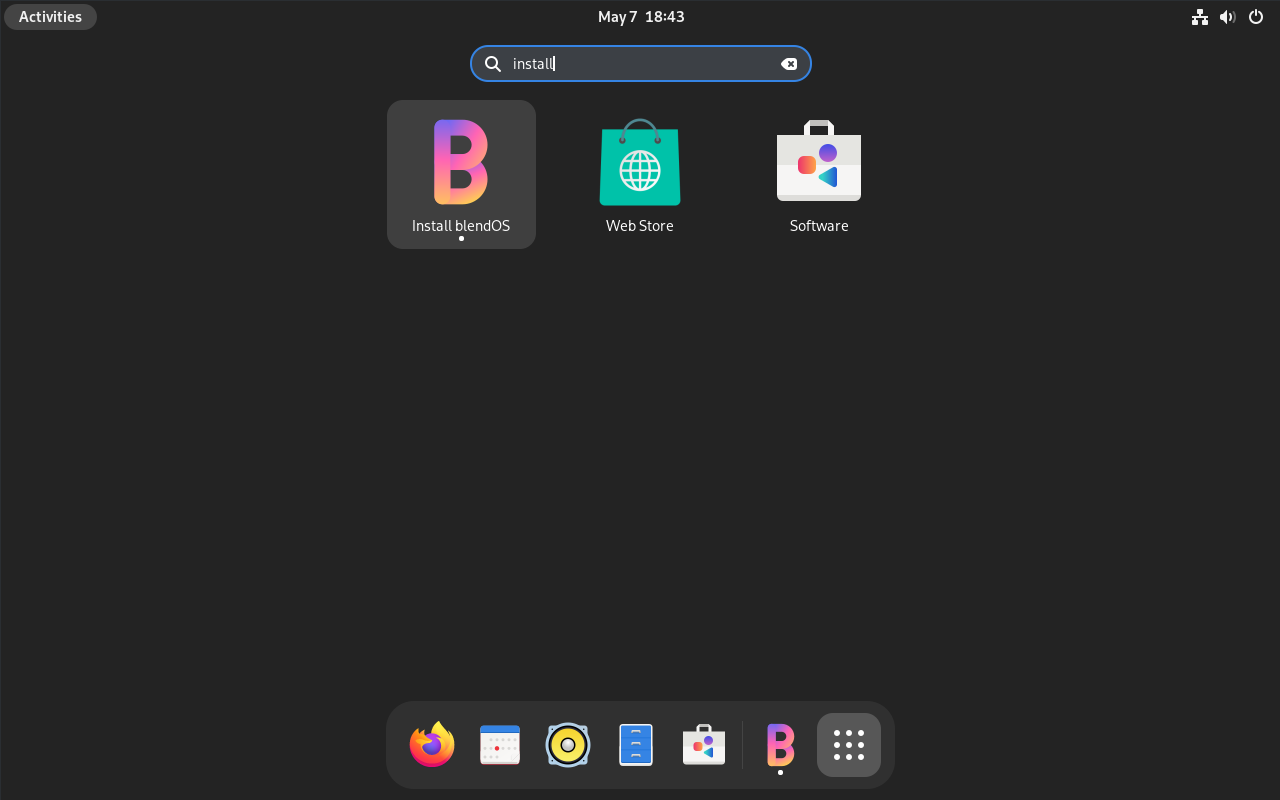
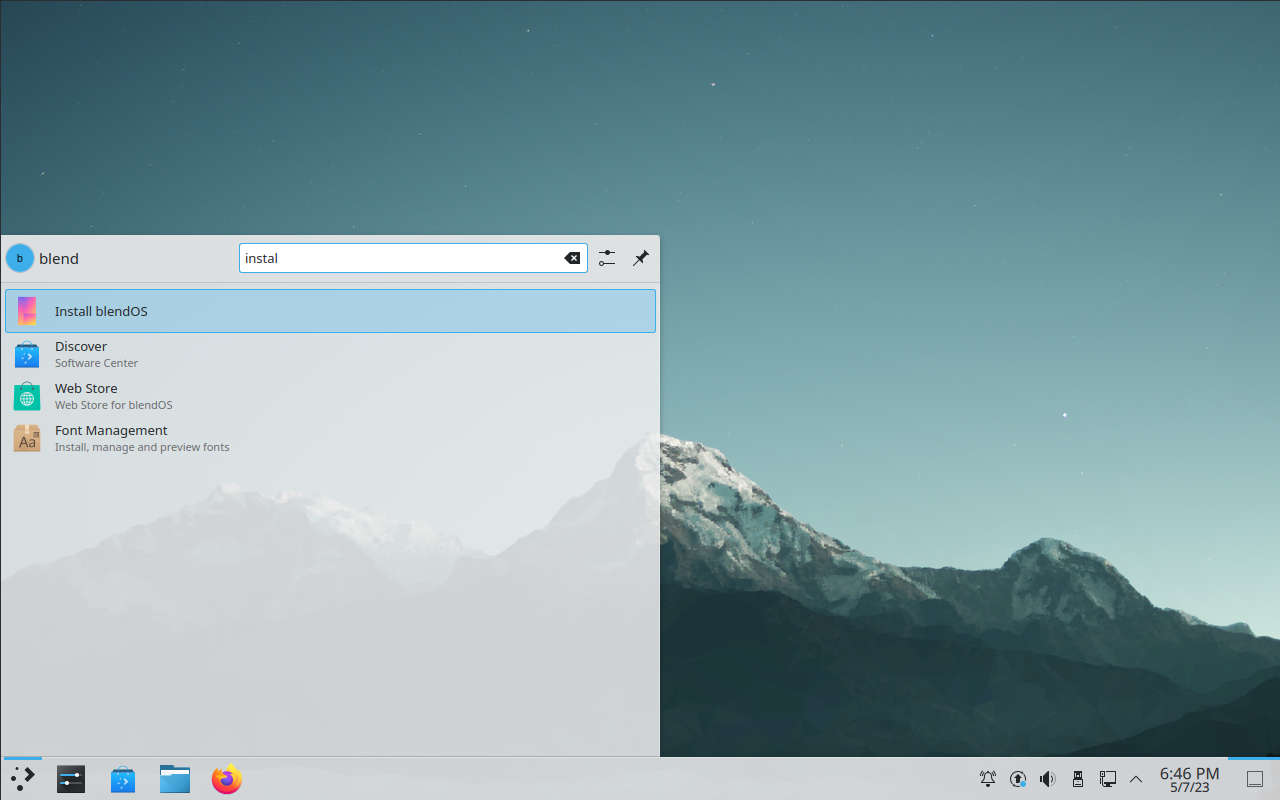
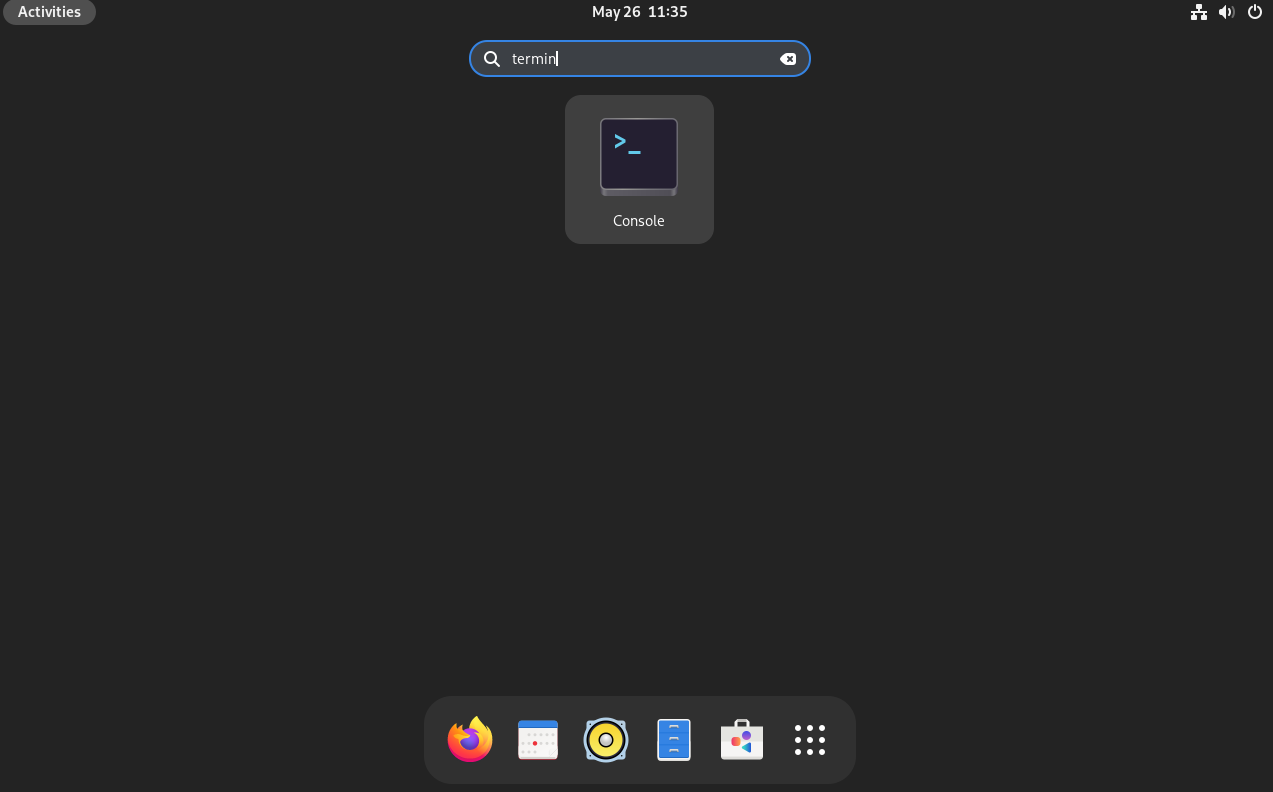
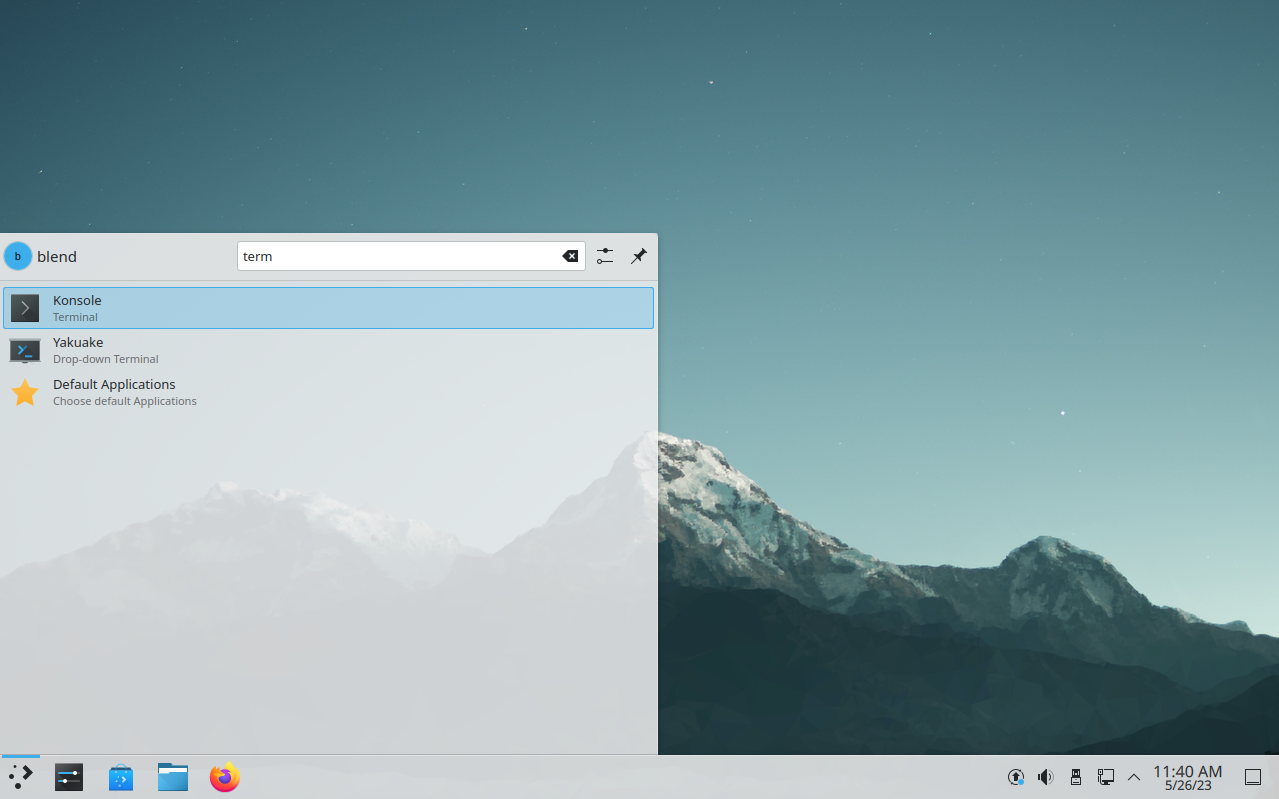
The blendOS Installer should pop up. If it doesn't, open it from the Application Menu (press the Windows key) and type "installer":
Step 5 Extra: Copying Wi-Fi firmware over to blendOS live installer
Your Mac needs Wi-Fi firmware for Wi-Fi. Sadly, this firmware is copyrighted so you manually have to copy them over by yourself.
Fortunately, there is a guide on T2Linux wiki, so just follow this.
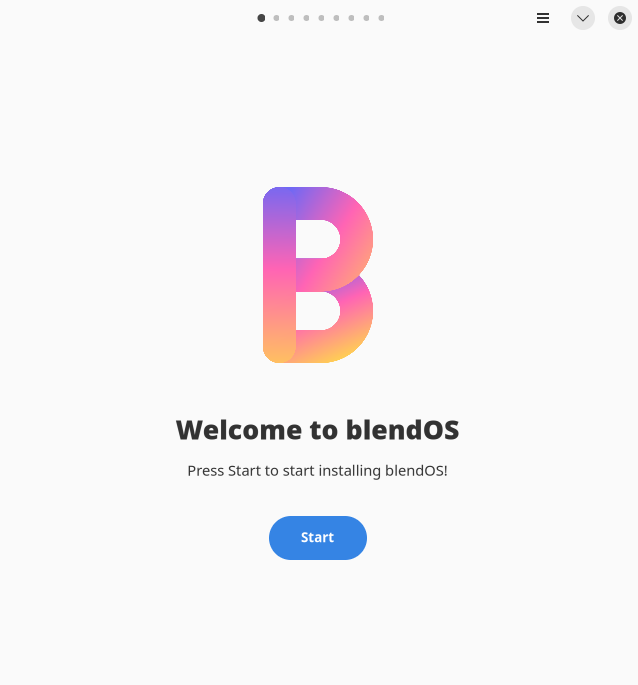
Step 6: Running the installer
Before you run the installer, make sure you are connected to the internet.
Click Start in the installer to begin the install process.
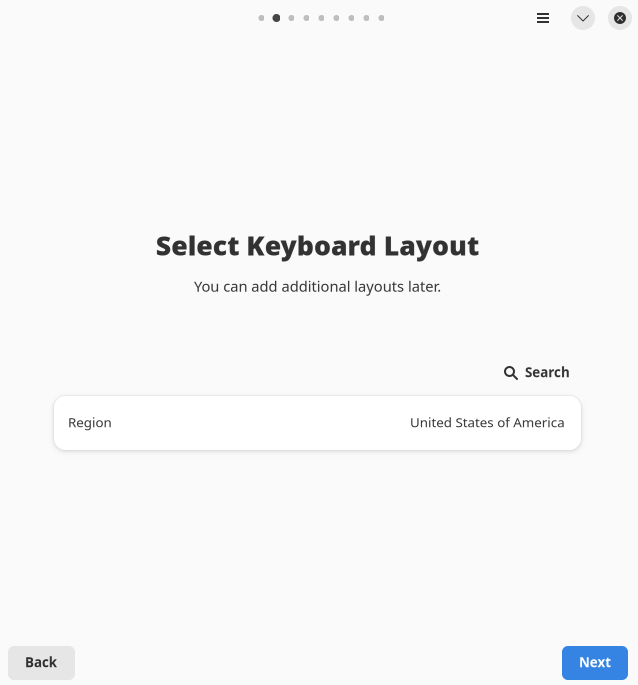
1. You'll first be asked to select a keyboard layout:
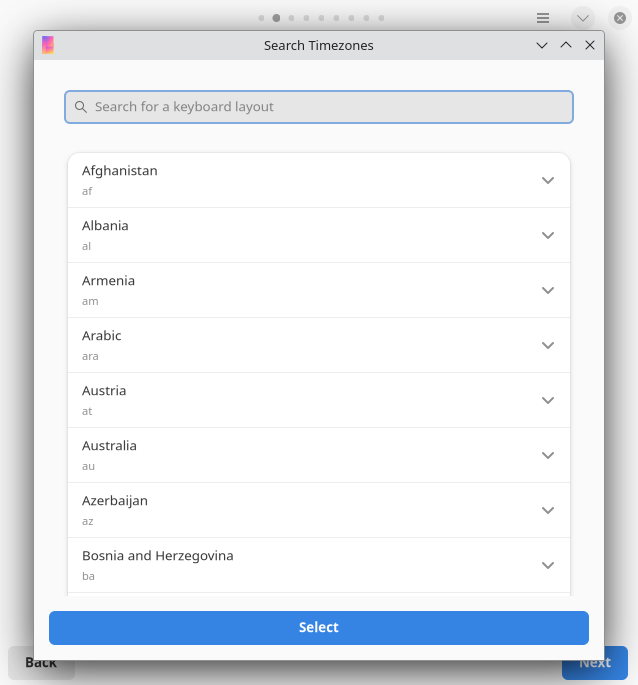
Click Search to choose a keyboard layout (even though it says timezone):
2. After choosing your keyboard layout, select your timezone:
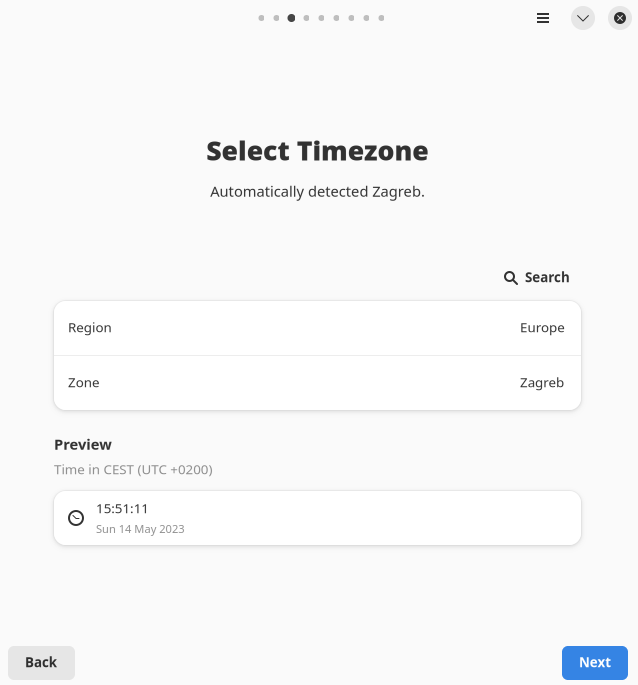
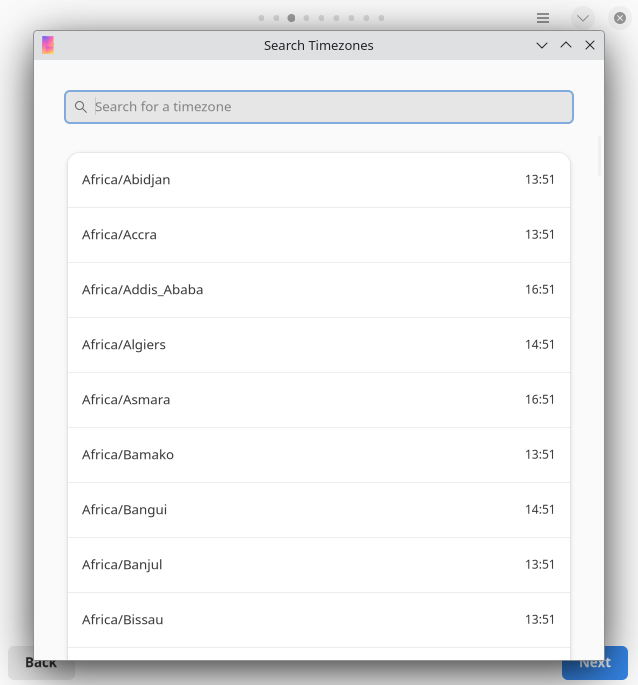
Hit Search to see timezone options:
3. After you set your region, it's time to set your locale:
WHAT IS A LOCALE?
A locale is basically the thing that the system checks to set your currency, time/date layout (dd/mm/yyyy or mm/dd/yyyy) and language.
It also sets your text encoding (UTF-8 is the main one, you need at least one UTF-8 locale)
they're typed like this: <lang>_<country_code>.<text_encoding> (ex. en_US.UTF8)
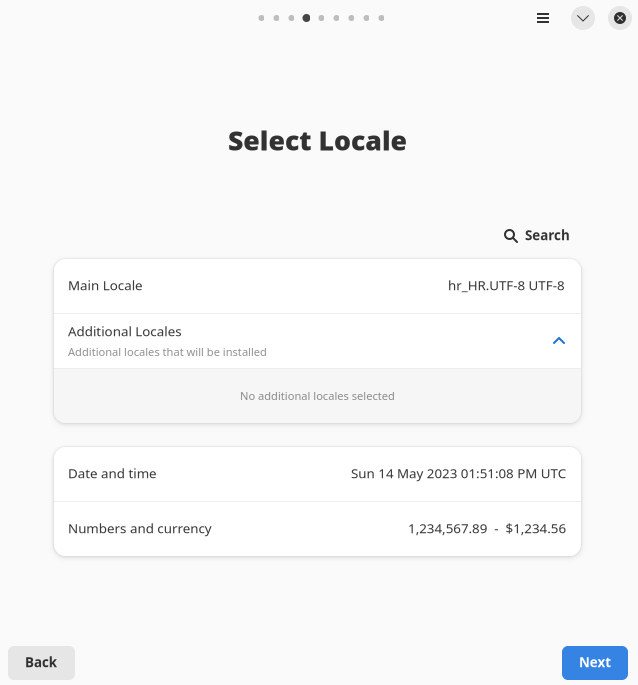
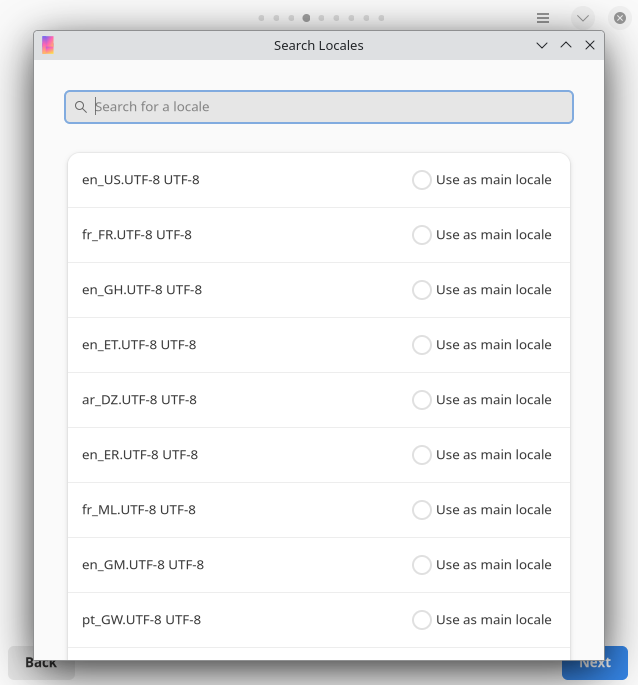
Hit Search, then choose a locale, and tick Use as main locale (the circle) then double click the locale name or else install will not proceed:
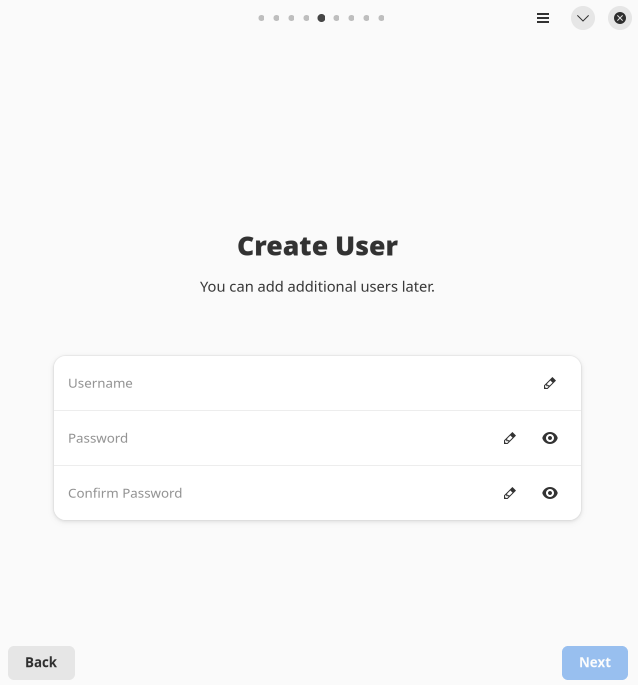
4. Make your user account:
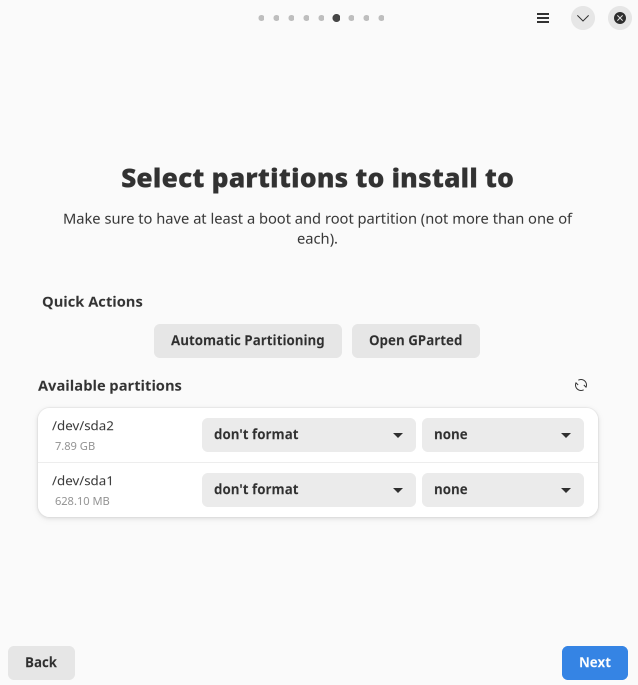
5. Next, choose the disk you'd like to wipe and partition, or choose Manual Partitioning:
WARNING!!
THIS WILL ERASE ALL DATA ON THE SELECTED DISK!!
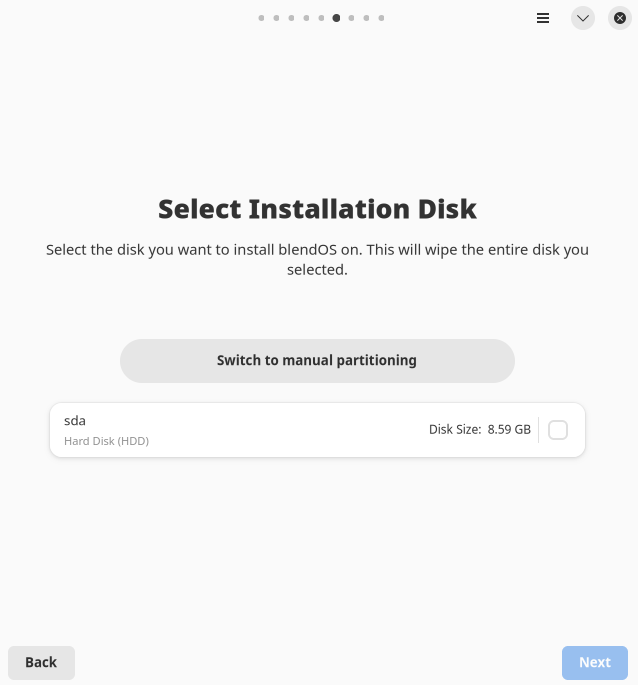
Manual Partitioning (consult Appendix A for how to do this):

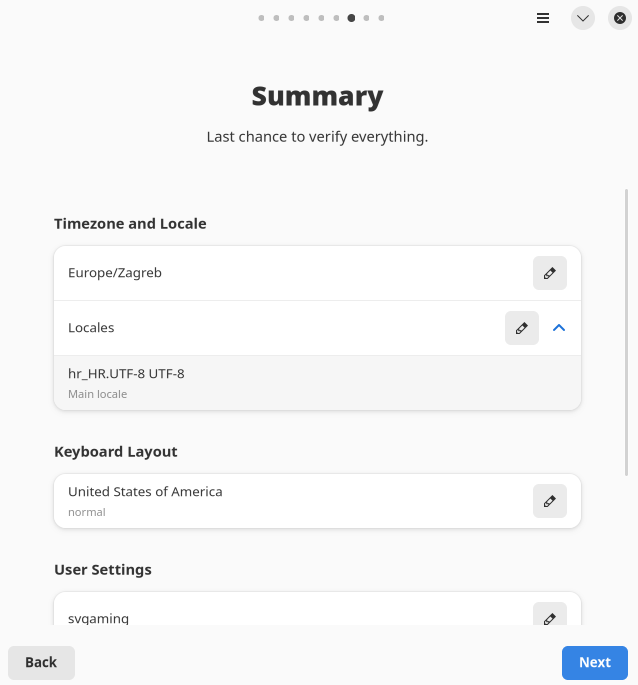
6. Then, check that everything is good in the Summary:
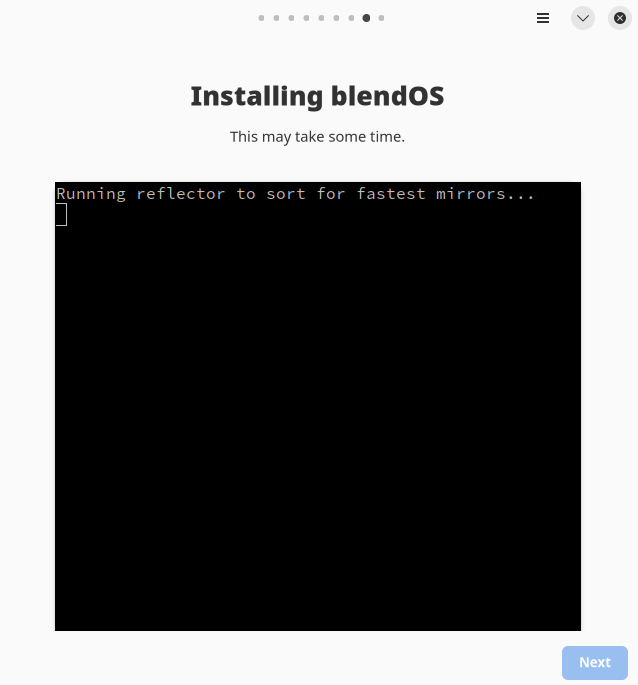
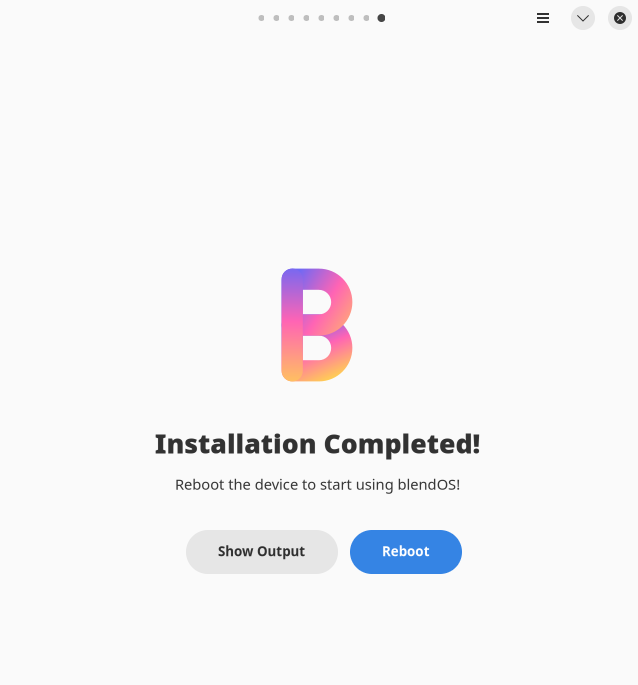
Then, hit Next and wait for the installer to finish:
Once the installer finishes, you'll be greeted with an option to reboot:
Post-Install
Step 1: Copying Wi-Fi and Bluetooth (on some models) over to your system
Once you reboot, you should boot off of your hard disk.
Now follow the guide again, but you can skip On macOS part if you still have your files.
Wait, didn't I copy the firmware over? Why should I do this again?
Because the firmware you copied was for the live system. Those files don't carry on to your installation.
THE FOLLOWING IS FOR V2 ONLY!
v3 has linux-xanmod-t2 by default.
Updating the system and installing T2 Xanmod (V2 ONLY!)
Step 1: Updating the system
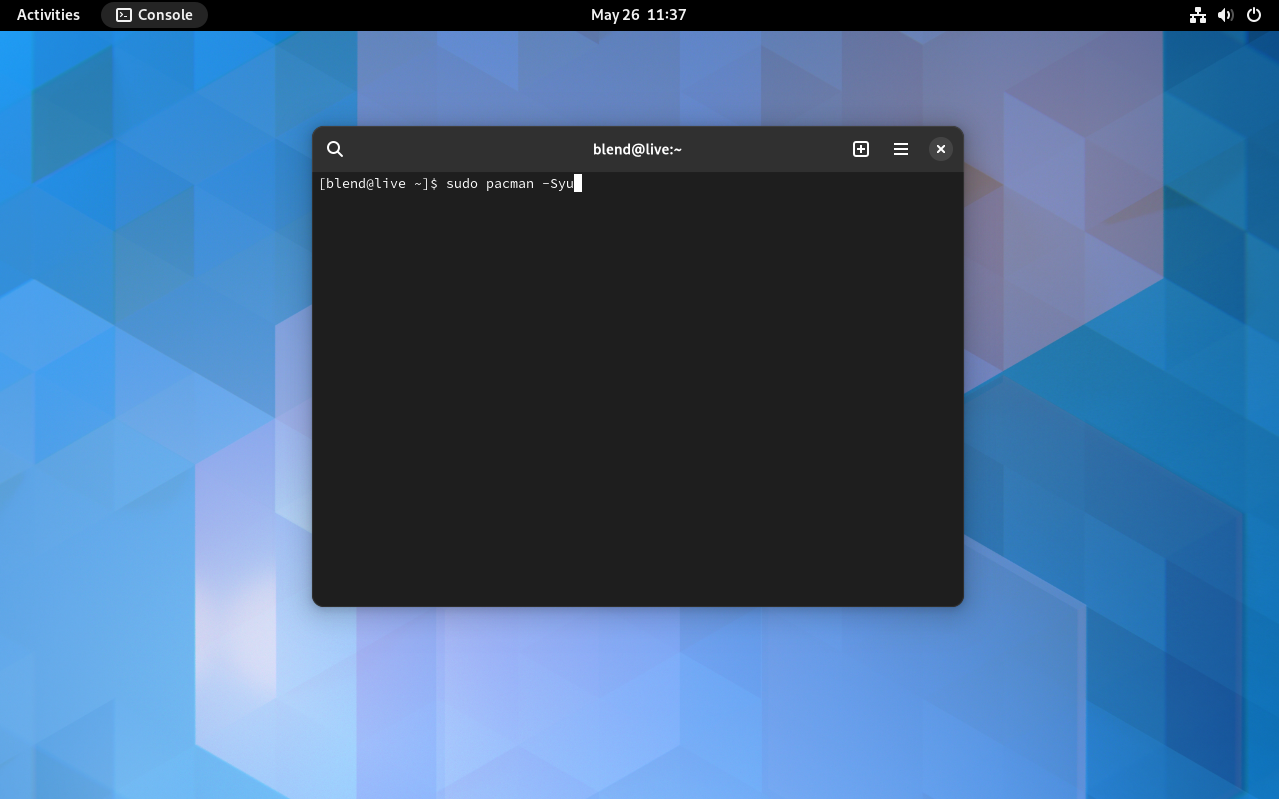
Open the Terminal again.
GNOME:
KDE:
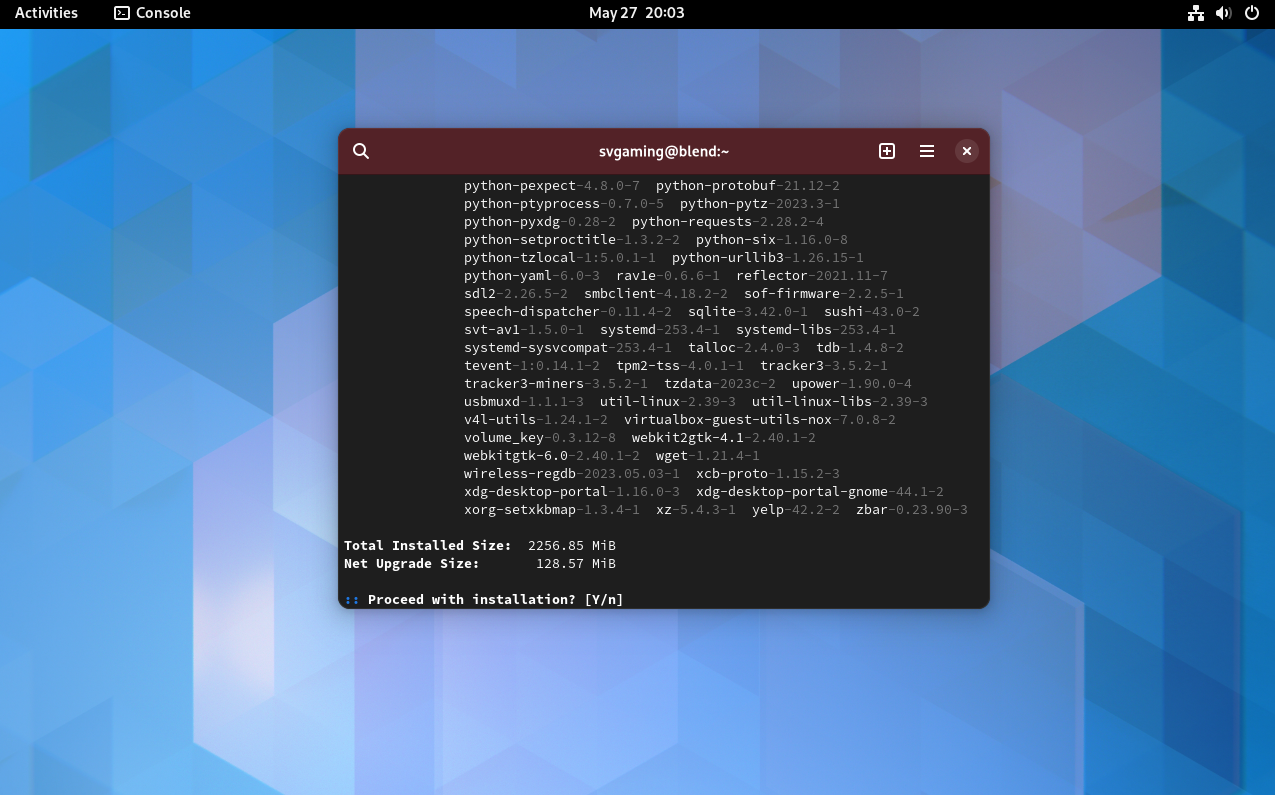
Then, type sudo pacman -Syu and enter your user password at the prompt.
GNOME:
KDE:

pacman will show the list of avalible upgrades, hit y:
GNOME:
KDE:
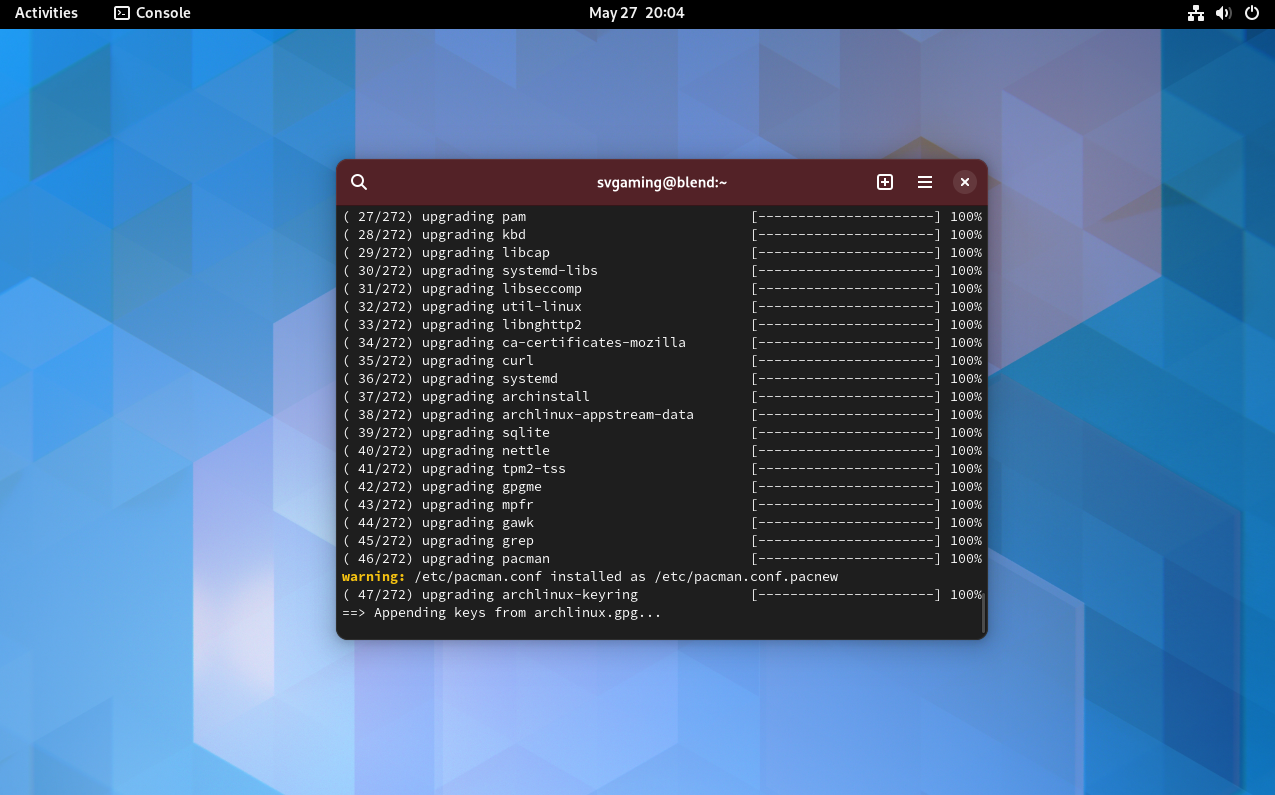
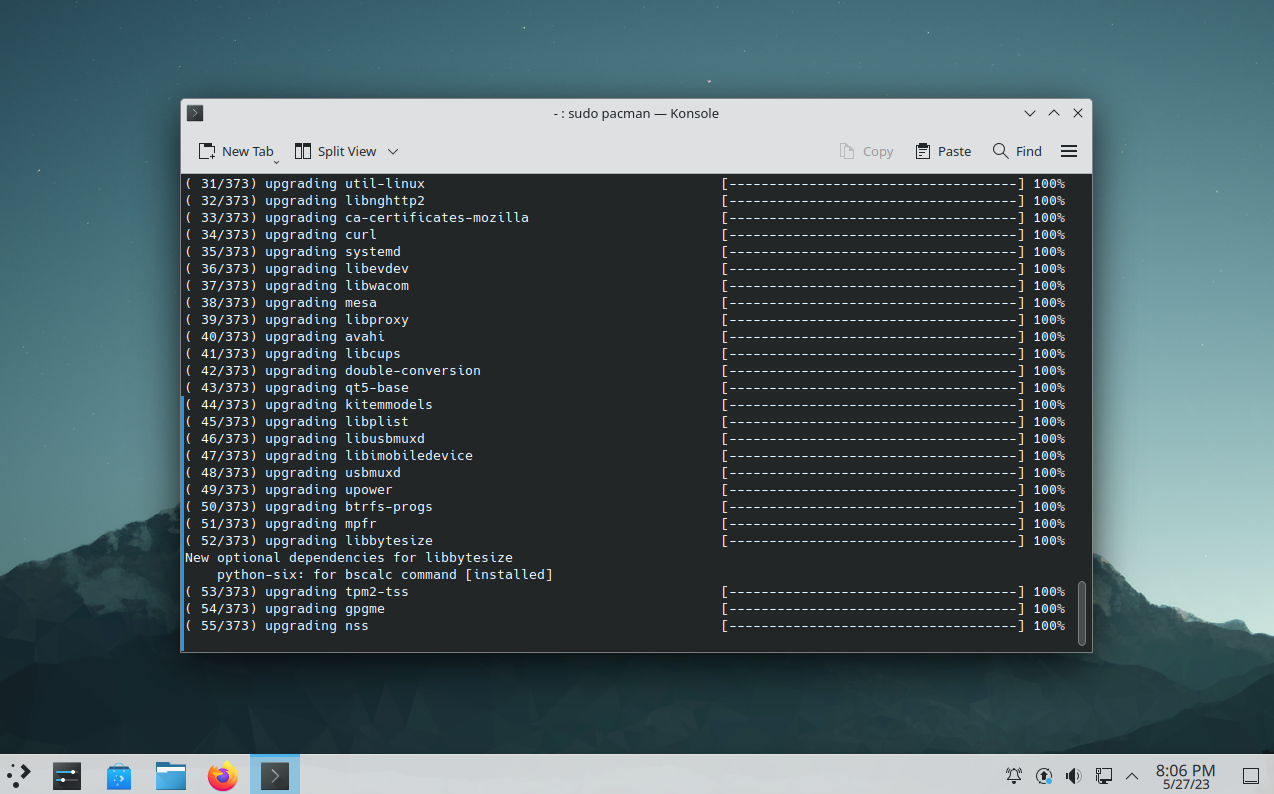
It should start upgrading:
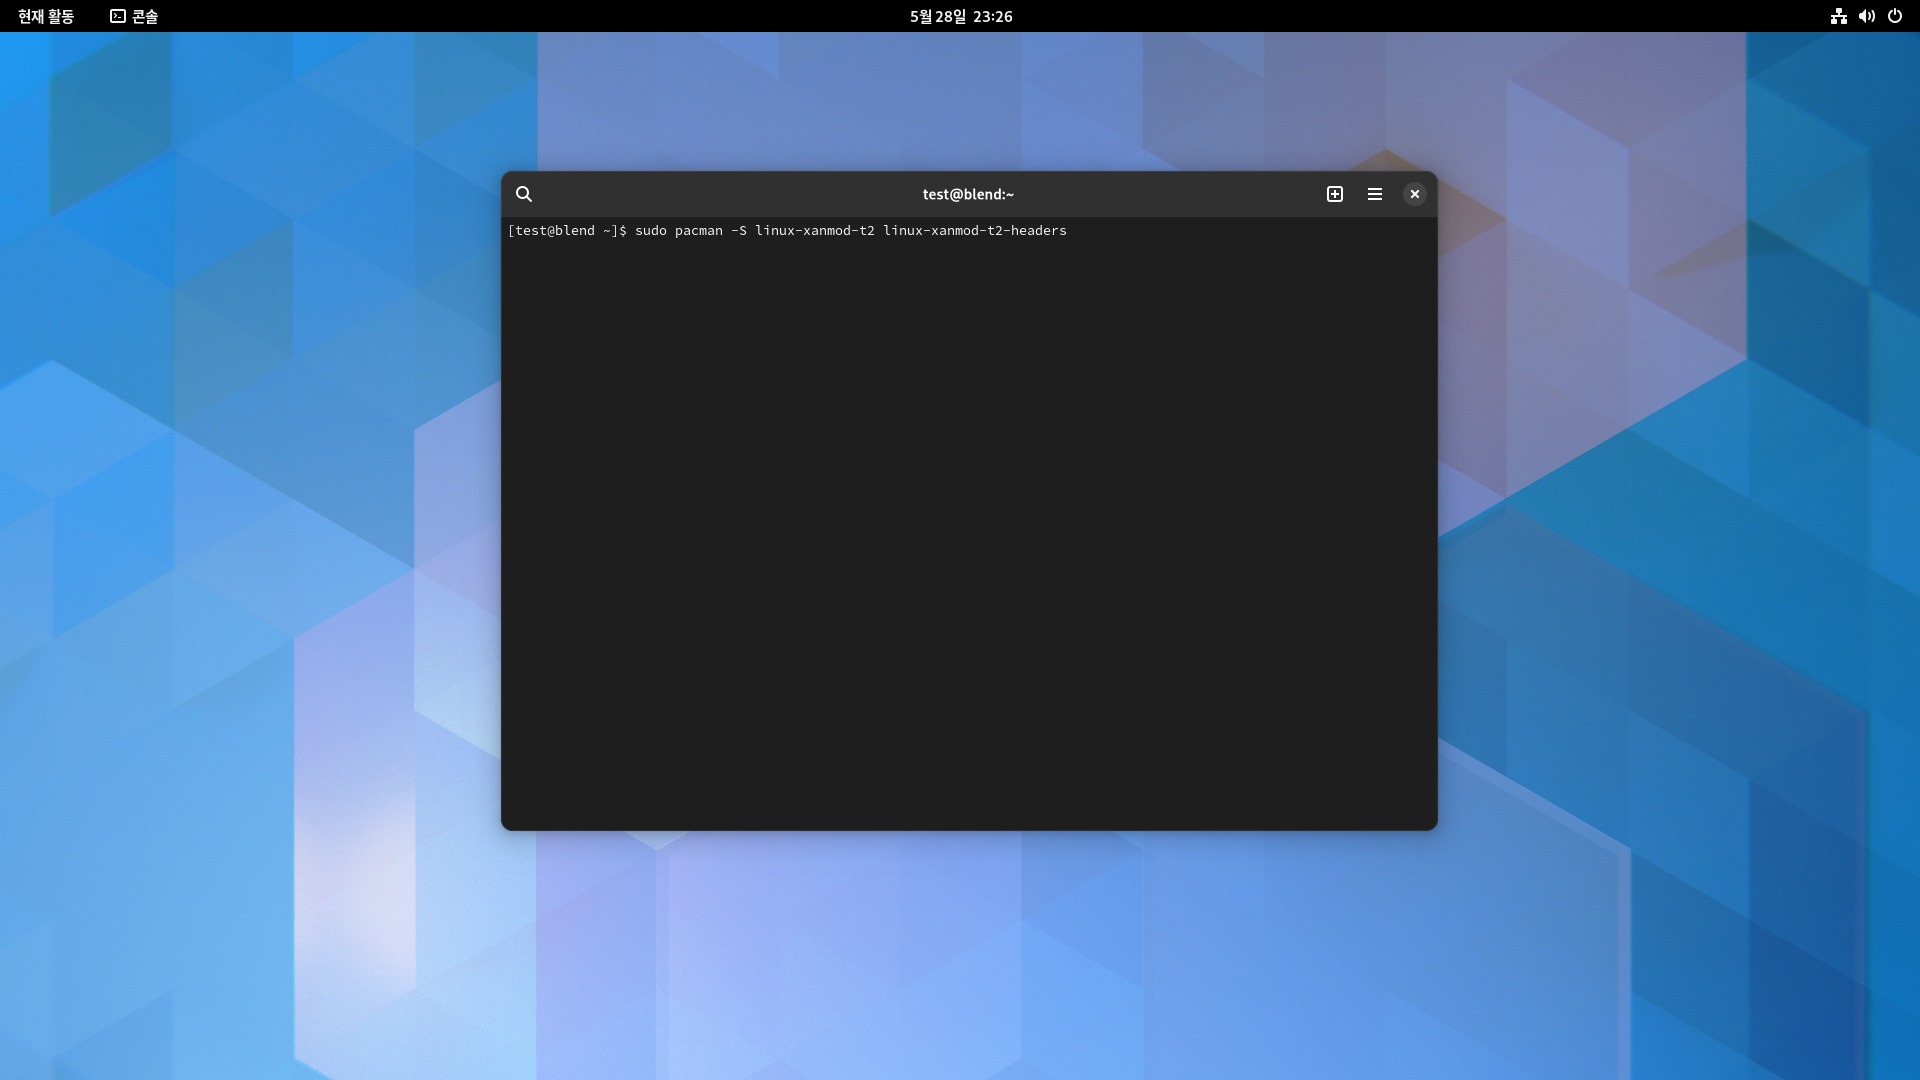
Step 2: Installing linux-xanmod-t2 for Waydroid support
Open the terminal again, and type sudo pacman -S linux-xanmod-t2 linux-xanmod-t2-headers (hit y at the prompt)
Then, run: sudo grub-mkconfig -o /boot/grub/grub.cfg to update GRUB (the GRand Unified Bootloader)

This is the equivalent of update-grub on other distros. You can install it into the host (you have to install it to the host) with sudo pacman -S update-grub (if it's not found there try the AUR).
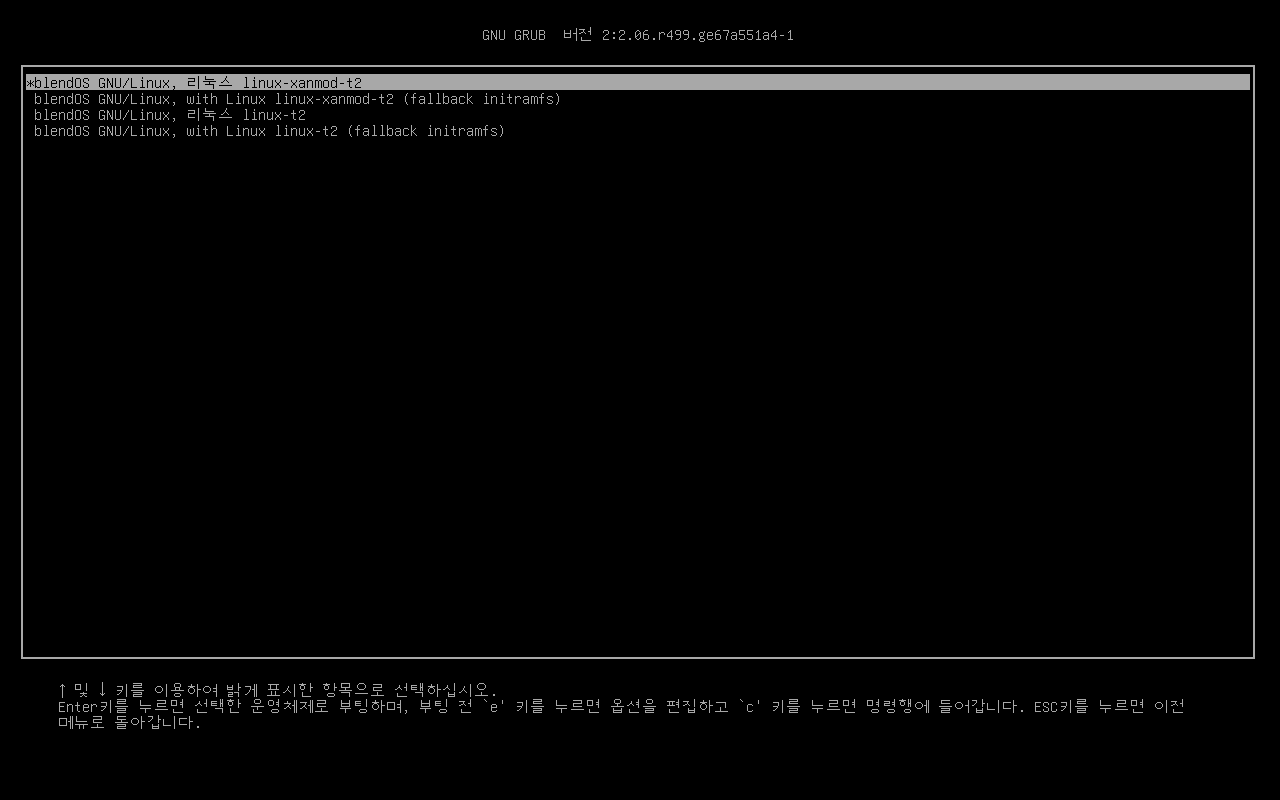
After both packages have installed, reboot. At the "Choose Boot Option" menu, choose Advanced Options for blendOS, then blendos - linux-xanmod-t2 6.1 (or similar).

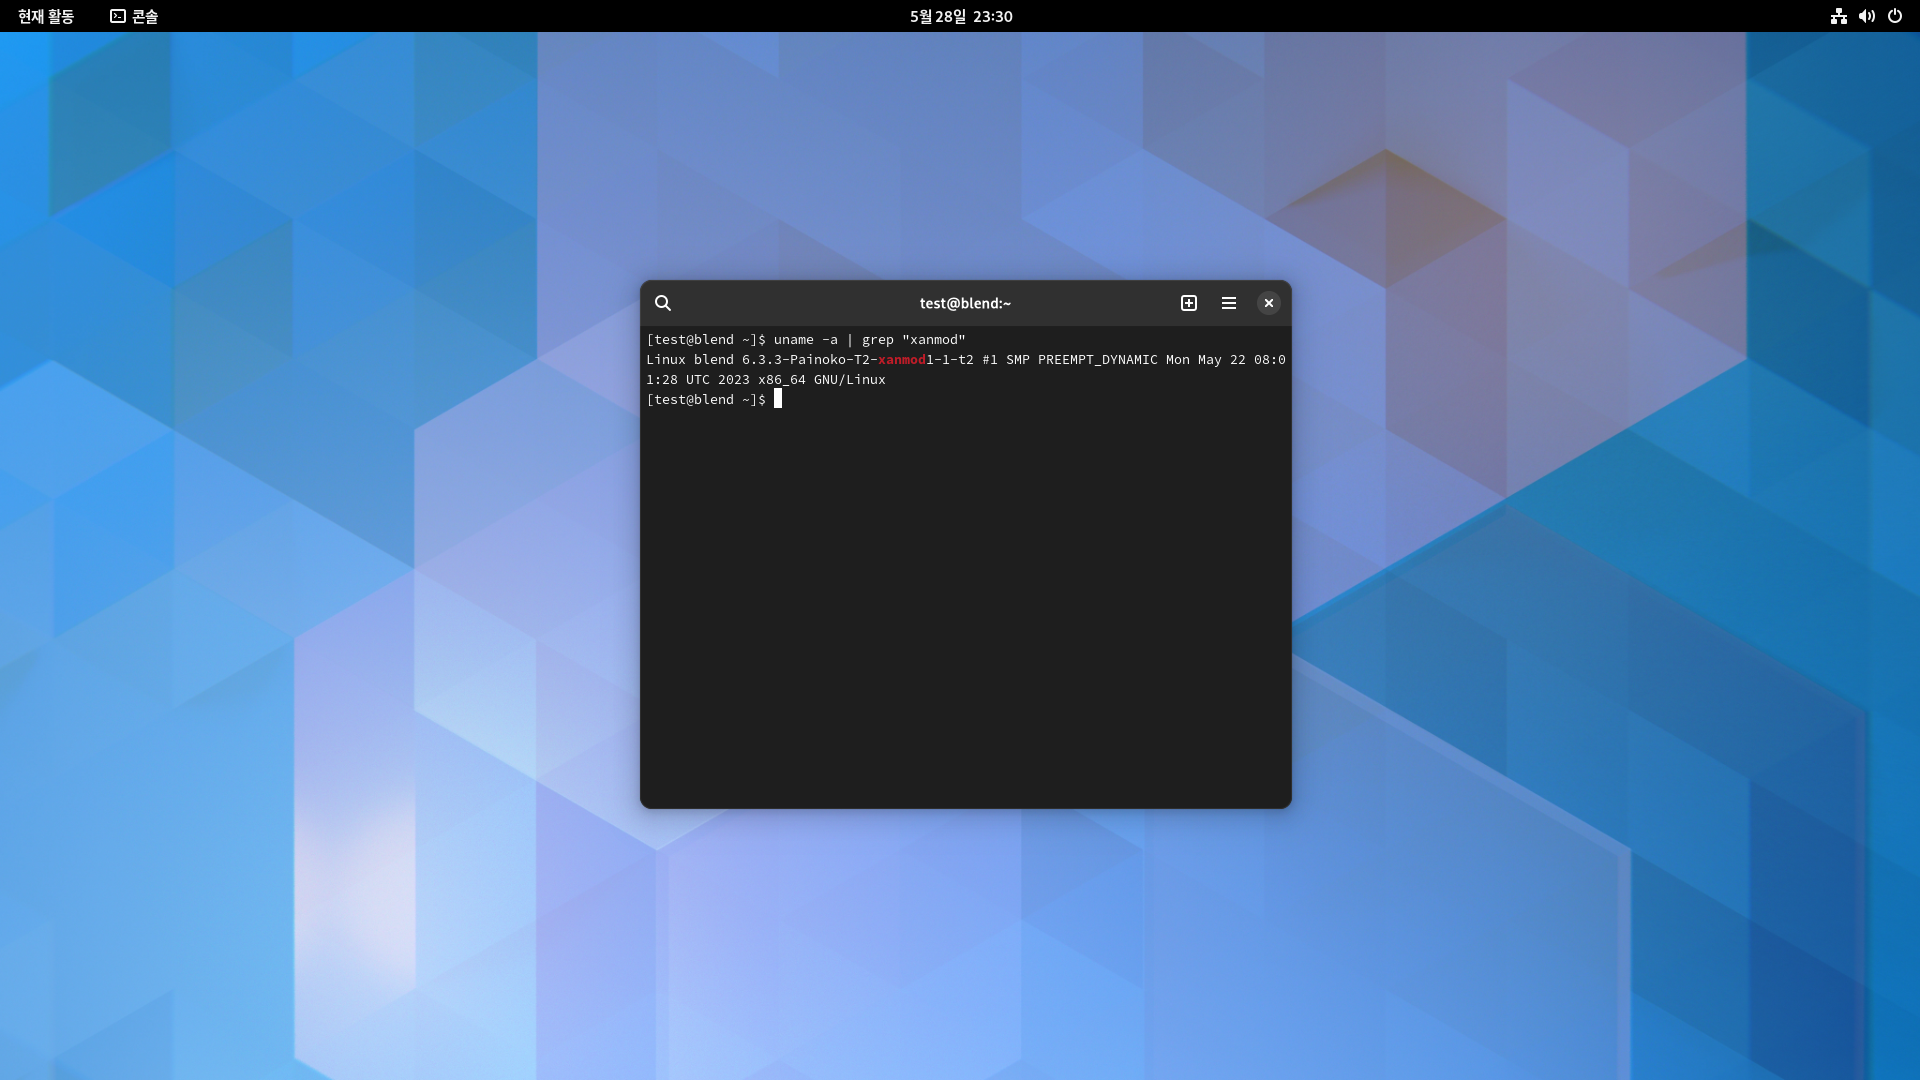
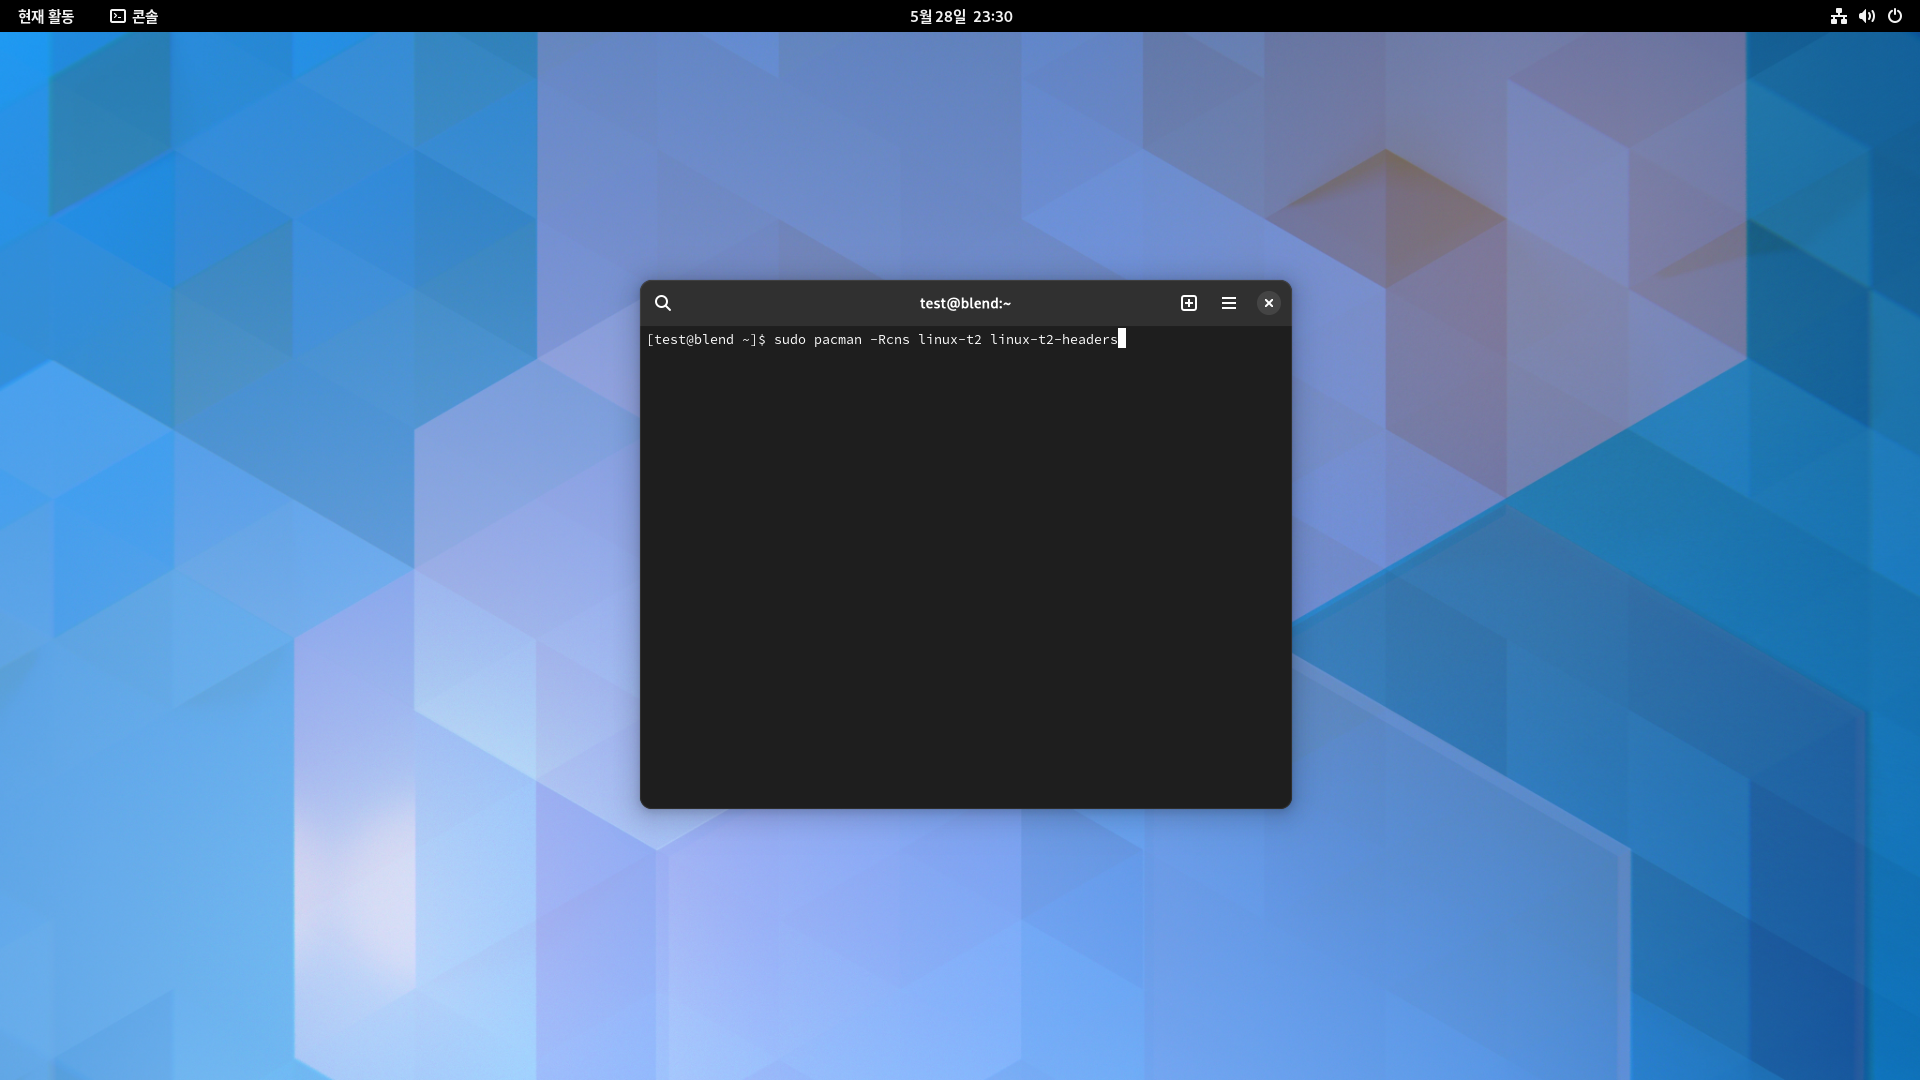
MAKE SURE YOU ARE IN THE XANMOD KERNEL BEFORE PROCEEDING!!
You don't want to remove the runnning kernel. To check if you are using linux-xanmod-t2, run the following: uname -a | grep "xanmod"
With Xanmod:
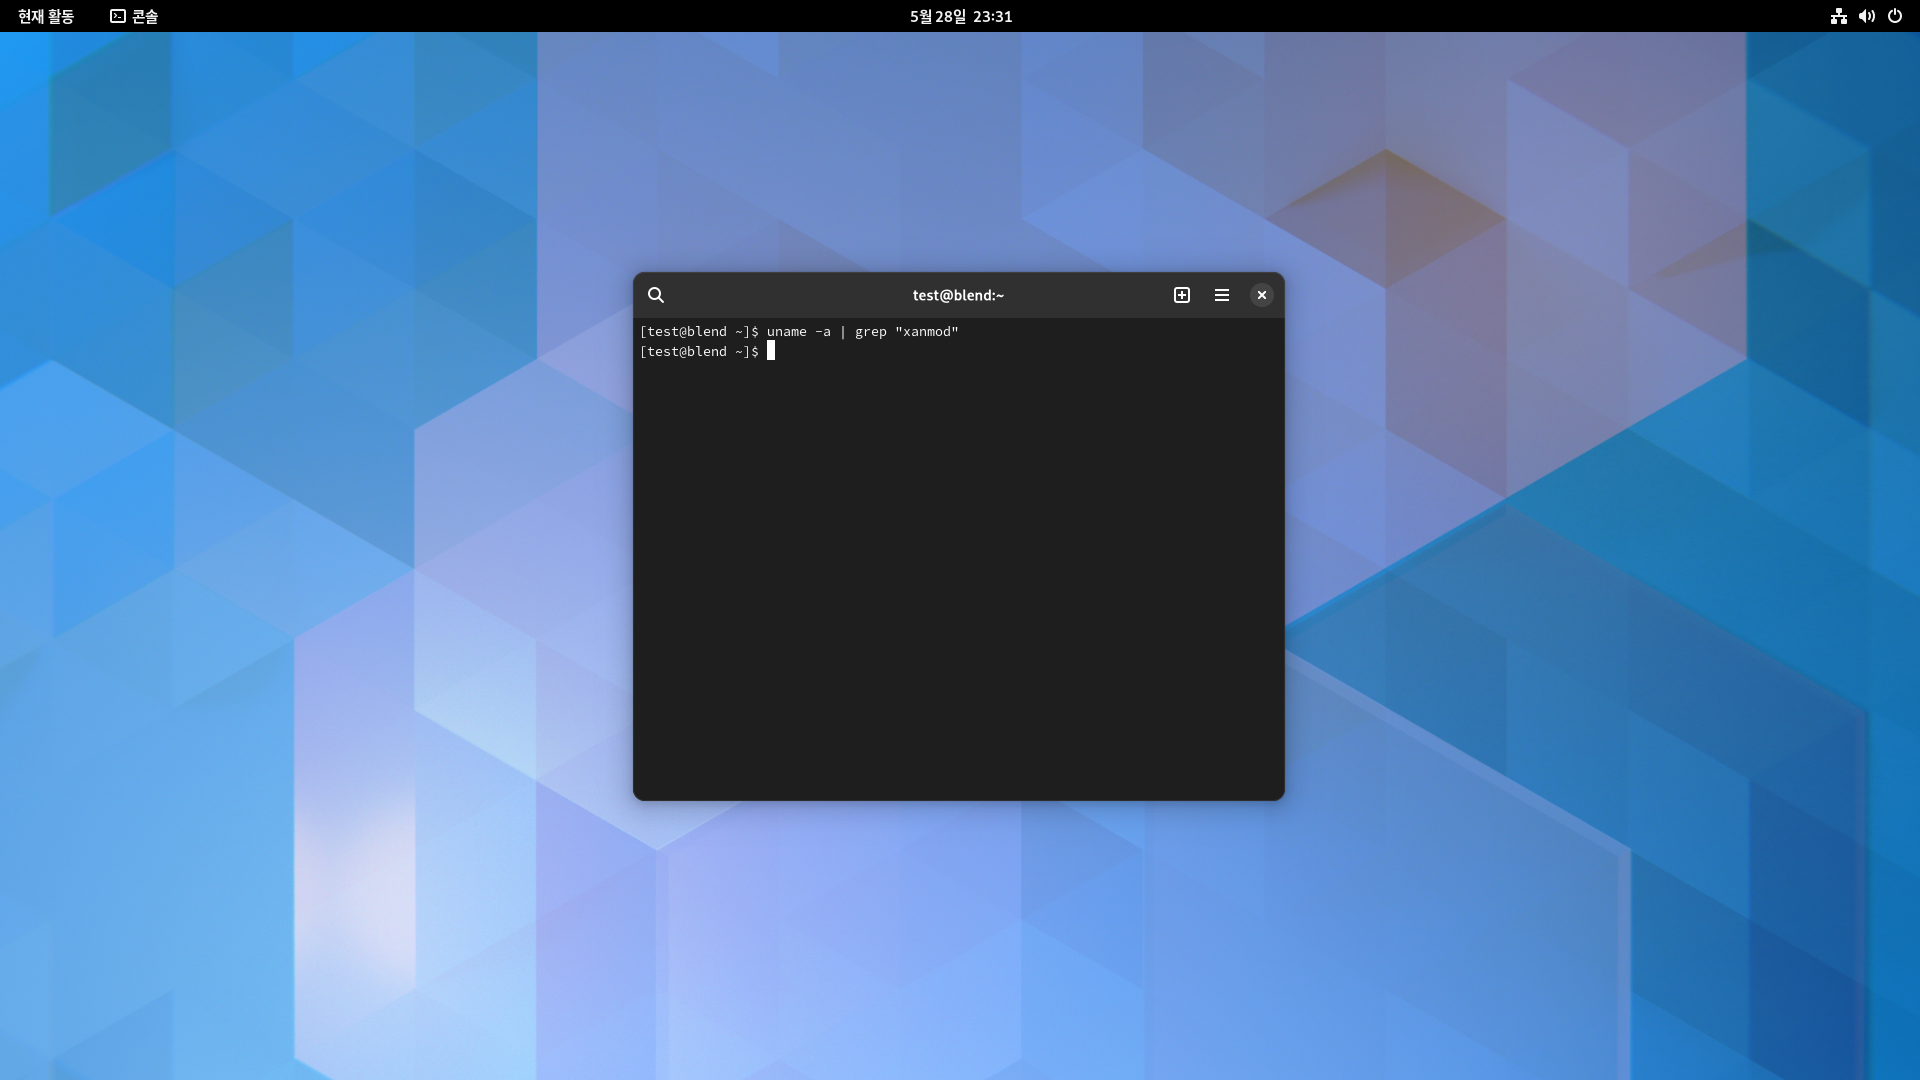
Without Xanmod:
Once you're back in the OS, remove the Linux kernel sudo pacman -Rcns linux-t2 linux-t2-headers (hit y at all prompts).
Then, run: sudo grub-mkconfig -o /boot/grub/grub.cfg and update GRUB again.
You're done!
Step 2: Containers
Start reading the Container management guide
Appendices
Appendix A: Manual Partitioning (UEFI)
How to manually partition on a UEFI system:
If you are using VirtualBox or VMWare (or any legacy BIOS system/hypervisor) this guide is not for you, you're on your own.
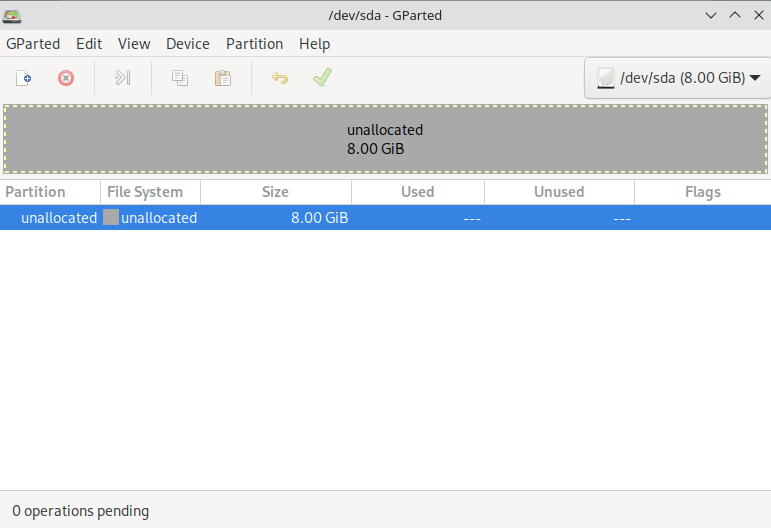
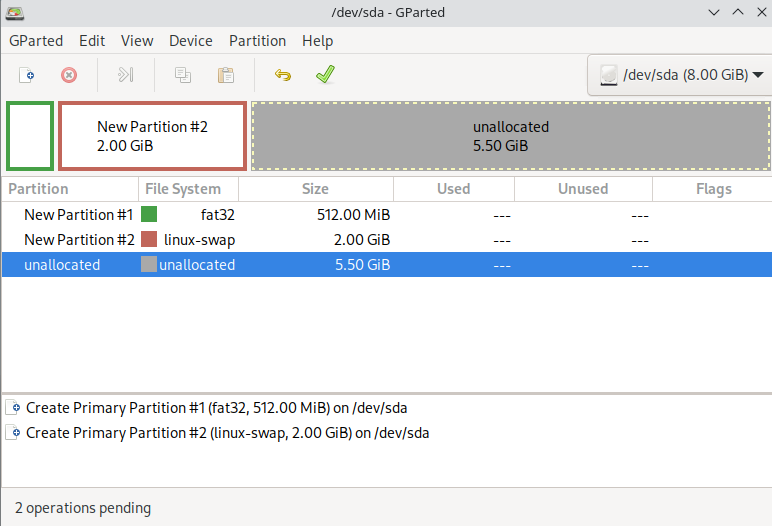
- In the installer, choose Manual Partitioning, then Open GParted:
Now you should see something like this (but with your partitions):
Choose the disk you'd like to use in the upper right.
MAKE SURE YOU CHOOSE THE RIGHT DISK!!
If you do not choose the correct disk, you may do unwanted damage.
The install livecd will also be shown here (as the last disk, usually /dev/sdb or /dev/sdc, it has an ISO partition and an EFI partition.)
Do not format the livecd.
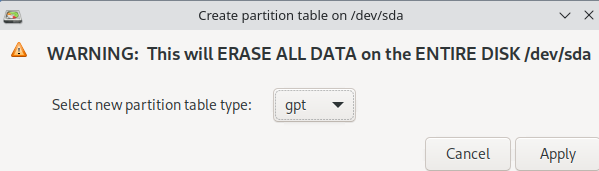
- If you wish to wipe your drive go to
Device > Create Partition Table: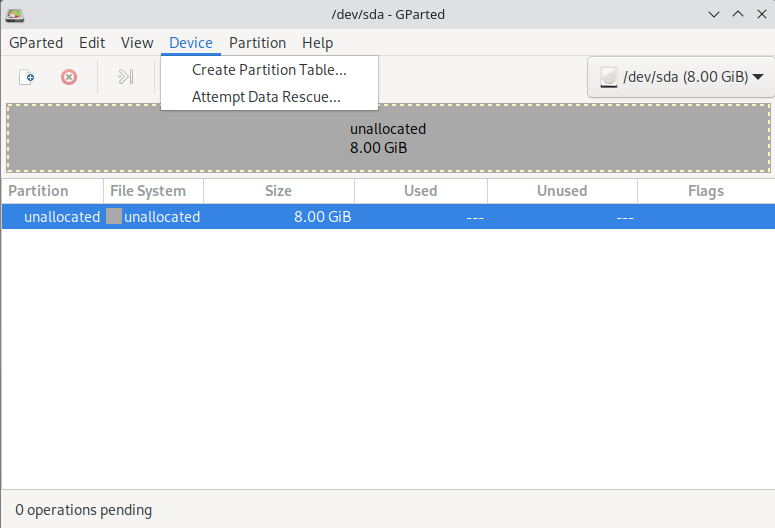
------------------ WARNING!! ---------------------
THIS WILL WIPE ALL DATA AND PARTITIONS ON YOUR DRIVE!
- For the partition table choose GPT
- Make a new EFI partition (
Partition > Newor clicking theNewicon on the top bar):
In the box, set the New Size to 512 and drag the partition to the left side.
Set File System to fat32, Label it what you want, and hit Add.
Changes are not saved in GParted until you hit apply, so you can tweak all this to your liking.
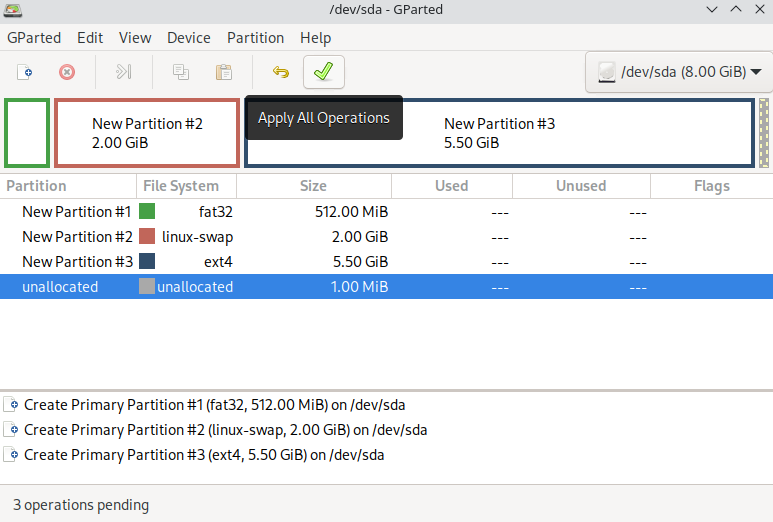
You should now see this:
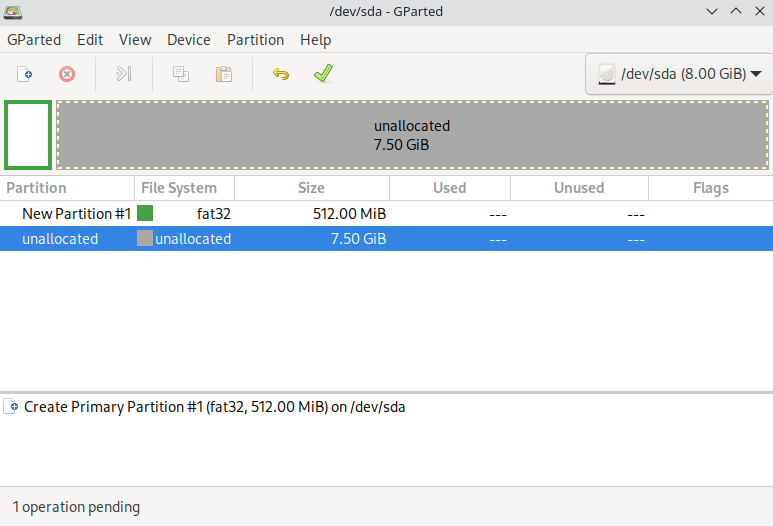
The box on the bottom shows pending changes, so you can see what you've done.
NOTE: The following step is optional, open the dropdown below to see it.
Appendix A.1: Making a swap partition
Why would I want a swap partition?
Swap is like memory but on your disk, useful if you have a low amount of RAM or do a lot of containerization / virtualization. It's also helpful to have some swap.
Making a swap partition
This is not your only option (you can also swap to a file post-install), but here's how to do it:
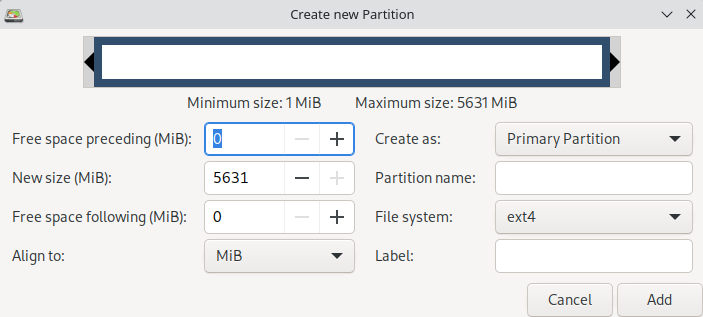
Make a new partition (Partition > New) and set it up like the image below:
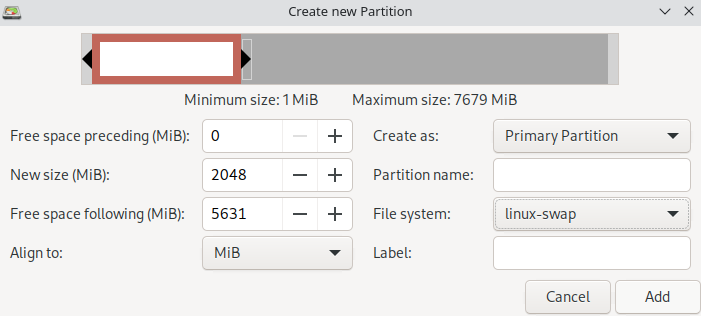
Set File System to linux-swap, size to whatever you want (1028 MB = 1 GB in this case)
If you don't know what size your swap should be, consult the table below:
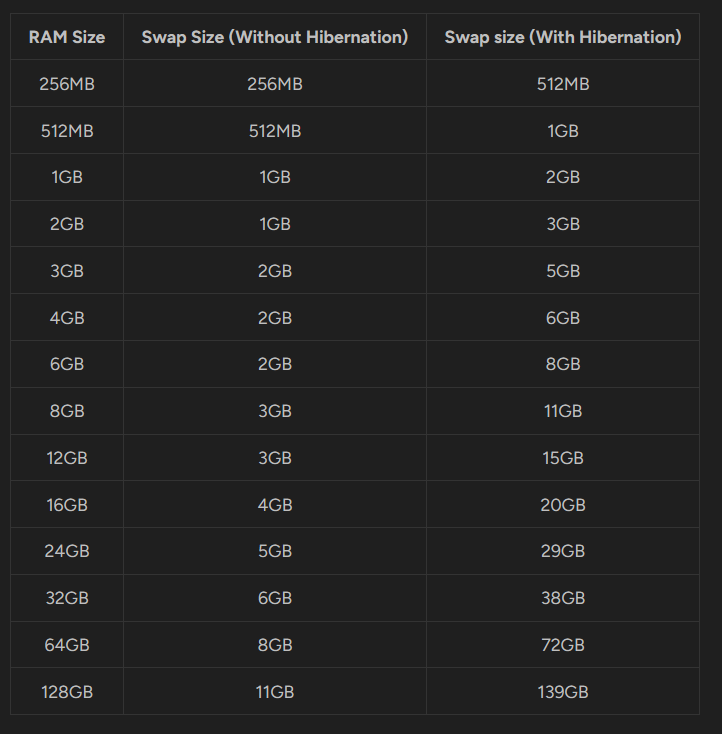
Image taken from this It's FOSS article
Label it what you want, and hit Add.
(you'll see something like this):
- Make your main partition:
Make a new partition with the following settings:
- File System:
ext4 - Space: The rest of your drive (unless you want a seperate
/home,/usr, and/or/tmppartition) - Label: whatever you want
- Finalizing
Hit Apply (the green checkmark)
THIS WILL MAKE WRITE CHANGES TO YOUR DISK!!!
Make sure that eveything is good before you proceed.
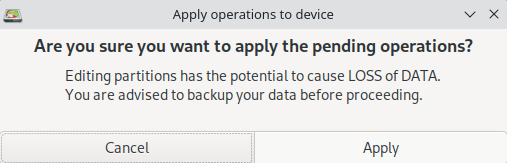
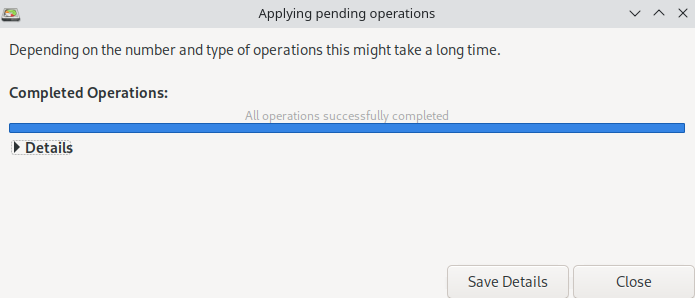
Hit Apply again to proceed and wait for the operations to complete.
Once completed, hit Close.
Now, go back to the installer (hit the refresh icon)
You should see your new partitions below:
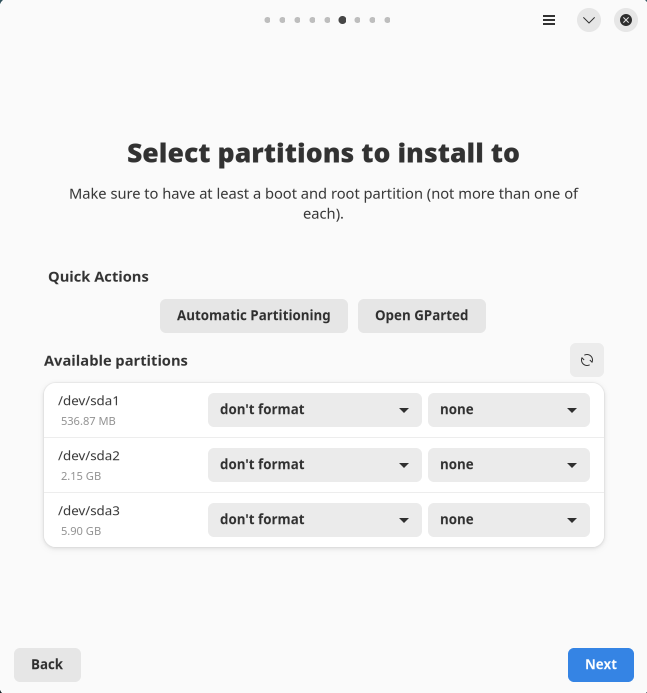
Set the following: (open the terminal and run lsblk to see disks and partitions on your system)
(You may see something different, like /dev/nvme0n1p1 for partition 1 of NVMe drive 1, but the procedure is the same)
Make sure that you pick the right disk, note down the id of the disk you used (ex. /dev/sda) (may also be /dev/sdb1, /dev/sdc1, etc, but the procedure is the same)

/dev/sda3 in the table will be /dev/sda2 for you if you didn't make a swap space.
The biggest partition should be mounted at / and not formatted (it's your /dev/sda3).
| Drive | Format? | Mount Point |
|---|---|---|
| /dev/sda1 | No | /boot/efi |
| /dev/sda2 | No | None |
| /dev/sda3 | No | / |